Debian 12 Homelab with Cosmos-Cloud
simple and intuitive
-
Table of Contents
Summary
My goal is to have a easy to manage homelab with cool features like a media server, file hosting, install some security applications like an Intrution Detection System, manage a KVM Virtual machine server and have other tools to help me with my studdies like a MySQL server.
I also want to not just use these software and services, but understand how they function on a lower-level to be able to secure and manage them more effectively and securely.
I’m going to be using Debain 12 as its pretty easy to set-up and has lots of compatibility with everything im going to use.
Cosmos Cloud can provide me all of this with easy provitioning and decommitioning of docker instances and to install it you just run a one-liner in the terminal on a fresh up-to-date system. The recommended OS is Debian 12 as it’s stable releases are tested by the developers.
-
Checklist
- Install Debain 12
- Initial Cosmos Cloud configuration
- Cloudflare DNS & Reverse Proxy
- [] Docker containers
- Cloudflare-DDNS
- [] Nextcloud
- Linkstack
- Responsive Resume
- [] Ollama + OpenWebUI
- MySQL 9 - latest (only for school)
- PiHole DNS
- JellyFin Media Server
- [] Security Onion SEIM and network monitoring
Base Configurations

-
Installed apps
- Cloudflare-DDNS favonia’s DDNS
- [] Nextcloud stack with MariaDB & Redis
- Linkstack
- [] Responsive Resume stack with Postgres, Minio & Browserless (chromium)
- [] Ollama + Open-WebUI (self-hosted AI agent)
- MySQL 9 - latest (only for school)
- Pihole DNS blocking
- JellyFin Media Server
- Deluge
Debian 12
- After flashing the latest netist version of debian 12 onto a usb to boot from, I chose these options:
- No Graphical User interface (headless installation)
- SSH server
- Disable root & create privlidged user
- Full disk encryption
To decrypt the disk remotely, I’m going to be using a openssh alternative named dropbear to allow me to login to the computer in a before first unlock state, then when a connection has been made with the apropriate ssh key, it will execute the ‘cryptroot-unlock’ binary that lets me type in the decryption key in the terminal.
I want to have a way to decrypt my drive remotely because I have my little homelab in a corner of my living room with just a power and ethernet cable connected to it.
After updating GRUB and initramfs and doing a reboot, unlocking the drive will look like this:
I used this blogpost by Neil for installation instructions.
Install AMD’s ROCm drivers to allow for GPU passthrough for docker containers, spicifically for Ollama to reduce the strain AI takes on my CPU and increase performance. This may also be useful for if I want to do GPU passthrough on virtual machines in the future.
- Use the Debian package manager method for installation
Lastly i’m going to configure SSH. I’m going to allow for ONLY Public-Private key authentication, no passwords, no host authenication no nothing. This negates almost all risk entirely from attacks like password brute forcing.
- use ssh-copy-id tool to copy keys to debian machine and make backups of keys used for login & decryption (or you’re cooked)
- edit ssh_config & sshd_config & restart service
- install “fail2ban” with apt, recommended config by debian
Cosmos Cloud
- Cosmos Cloud doesnt require much configuration to get started, my go-to setup usualy consists of:
- Auto updates
- Force MFA
- Hostname access
- [] Enable SMTP server (using proton mail)
- Whitelist contries
- [] Add additional market sources
- Use Let’s Encrypt to generate HTTPS certificates
- Add a wildcard domain
- Set cloudflare DNS provider
- Supply the needed Email address and API key & Token
After that I then put in 2 cron jobs with CRONTAB syntax, one to periodicaly update the operating system and another one to access the time from a NTP server
OS Updater
0 0 12 * * *
apt update -y && apt full-upgrade -y && apt autoremove -y && apt clean all -y
Time sync
0 0 12 * * *
ntpdate au.pool.ntp.org
Ive looked through all of the different market sources that cosmos cloud has and decided that I want to add the CasaOS library, tinyactive and the likidsuave.
These give me 100’s of new apps that I could install and provide some useful apps like Pihole from the CasaOS library.
Security Onion SEIM
This needs its own page, Security Onion is very complex and intigrting this tool to match my homelabs needs will take time.
It will probably will be here
App Configutations
Docker Apps
Cloudflare-DDNS, MySQL 9, Pihole, Jellyfin & Deluge all have a simple setup.
Both Jellyfin and Deluge have pre-made docker compose my the cosmos cloud community and can be found in the market section in cosmos cloud. All I need to do is create a good password for both.
MySQL requires a root password to be made in the compose file. I dont need more than the bare minimum to just use SQL for school, i’m not publishing this port outside of my NAT so I wont do anymore configuration past that.
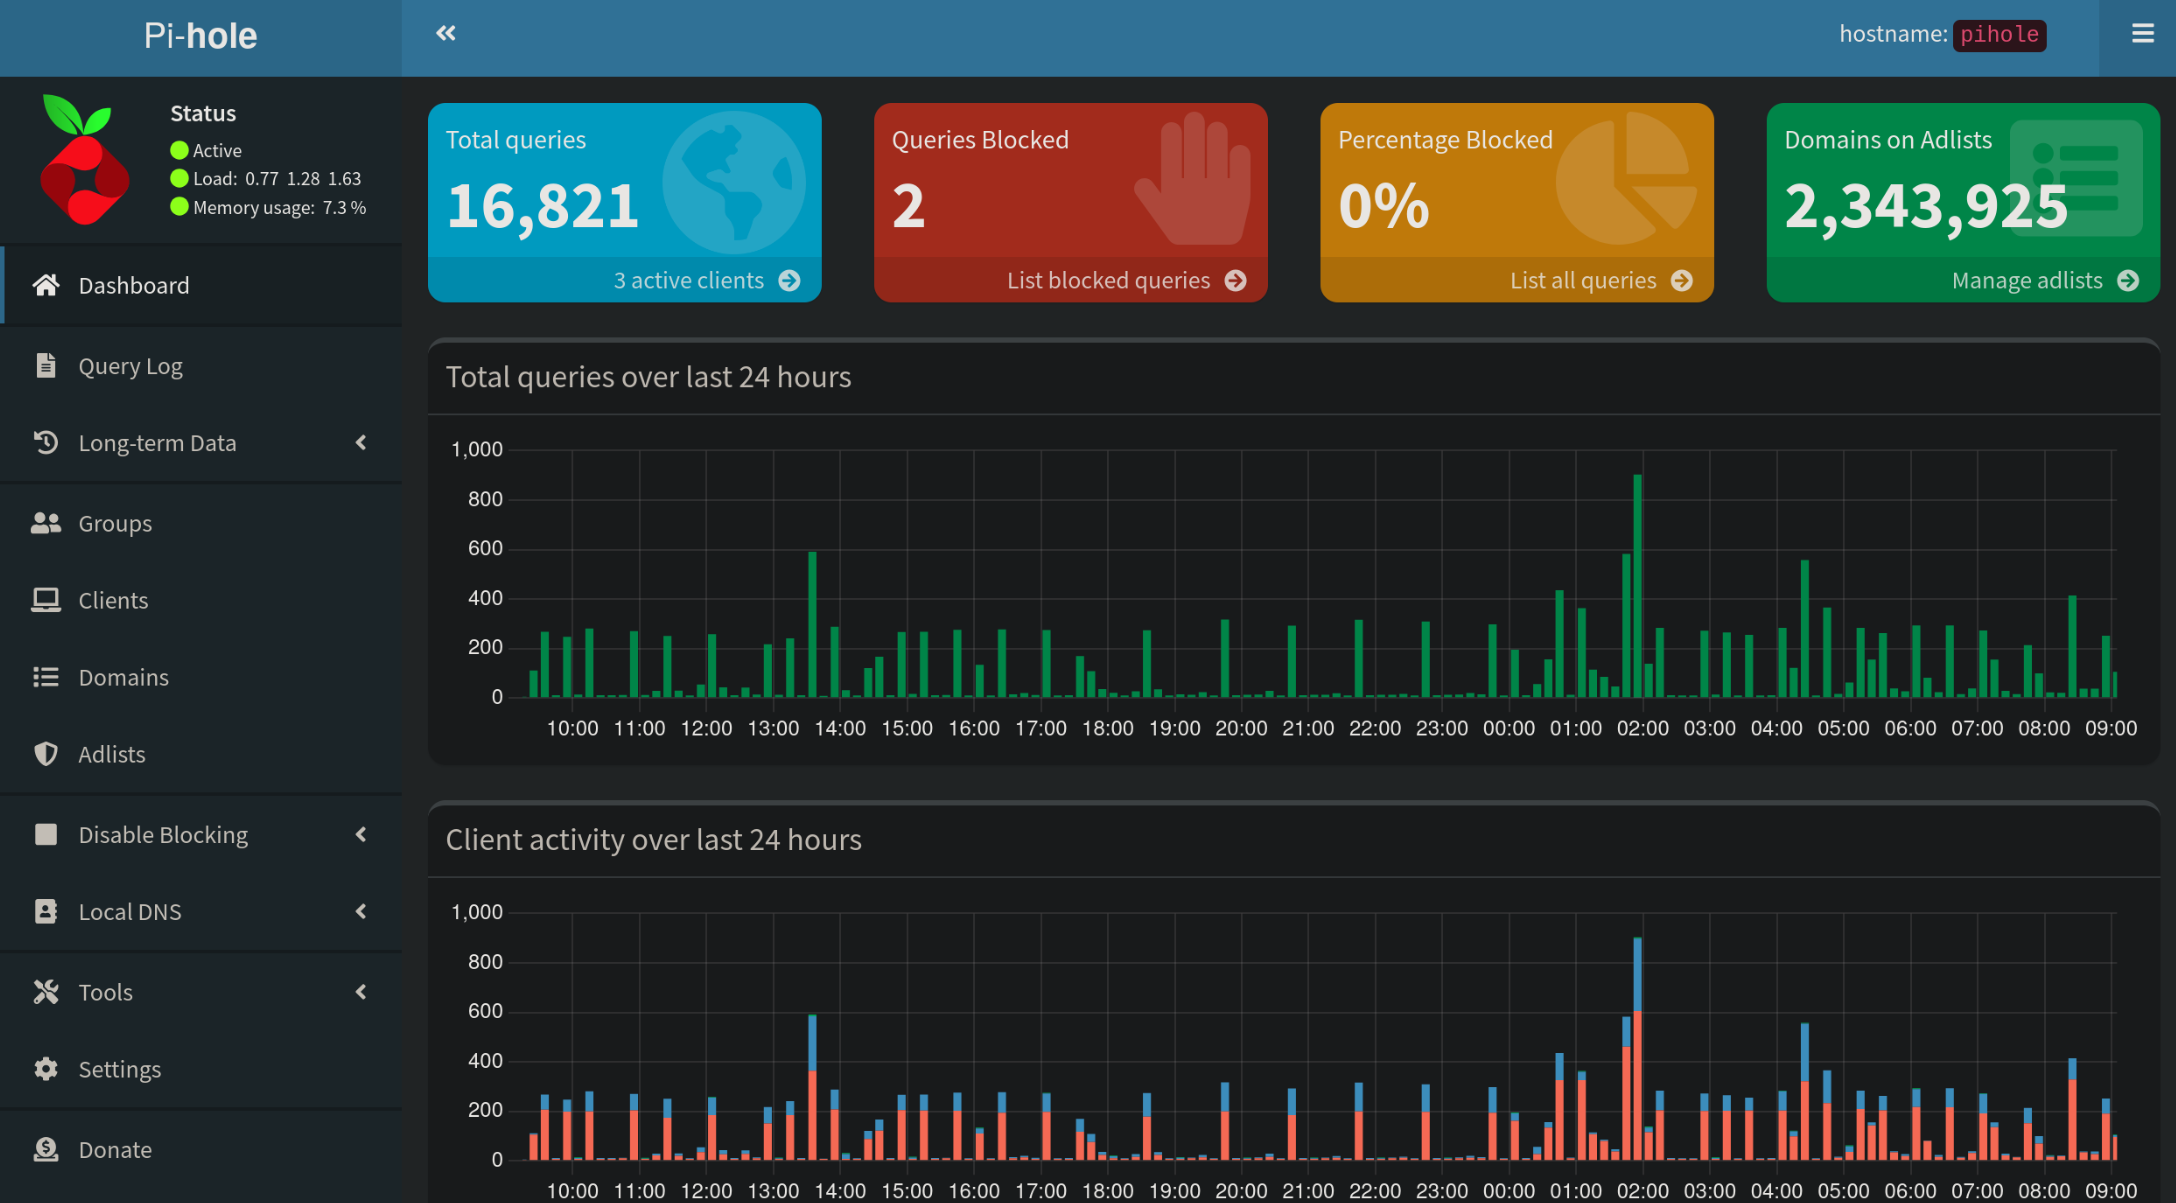
Pihole’s password will need to be changed as the default if installing from the CasaOS library port is just casaos, and I have about 10 blocklists blocking a total of 2.5 Million different IP’s and domain names. Heres the list

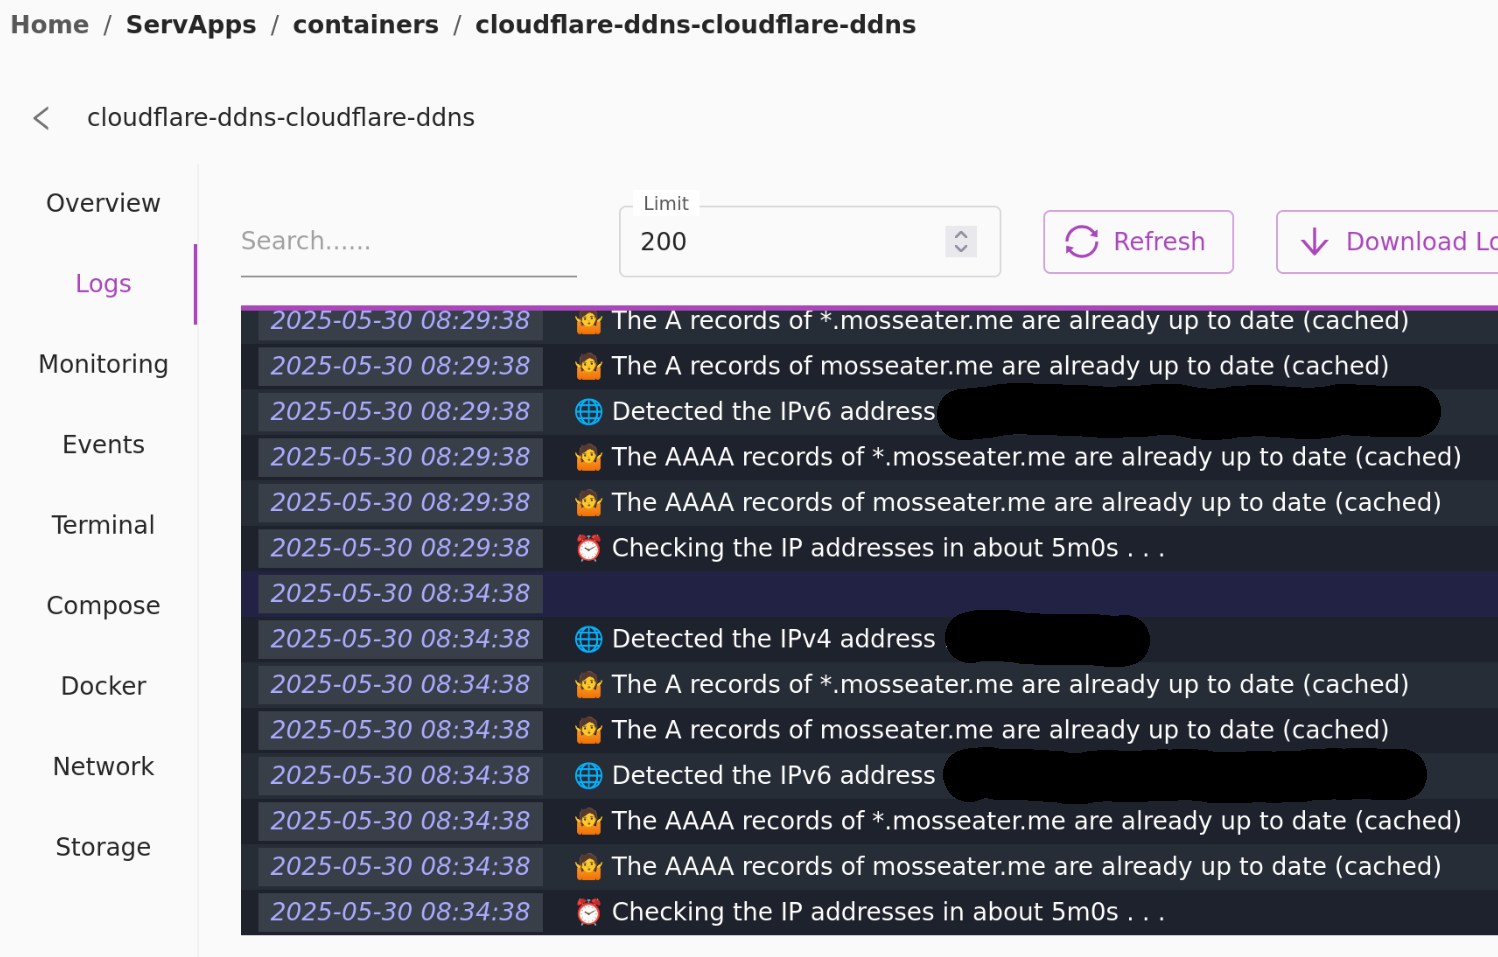
Cloudflare-DDNS will be configured to add a route to my IP address, proxied through cloudflare reverse proxy with the domain mosseater.me & *.mosseater.me to let any routes I add via the cosmos cloud reverse proxy work without needing to re-configure cloudflare as well. To do this it requires my cloudflare API token in the docker compose.

-
Nextcloud
Cosmos Cloud has a solid pre-made compose file fitted with a MariaDB instance, Redis server and pre-configured routes for Cosmos Clouds reverse proxy. All services have proper authentication like strong passwords for access to MariaDB and Redis and auto-updates configured.
- Some additional features that can be configured in Nextcloud are things like
- [] User Home Directory Encrytion To encrypt users home directory with their own key, this can block any type of abuse from administrators or threat actors if they are able to get into the server, from stealing, snooping or misuing user data.
- [] User Account policies Deploy things like MFA with One-Time-Passwords (OTP) or add the ability to sign in with Passkeys and set lockout policies and minimum password requirements.
- Some additional features that can be configured in Nextcloud are things like

-
Responsive Resume
The developer of rxresume has supplied a really good initial configuration for installing with docker compose. Only some minor changes to the compose file are required like authentication and some additional features.
-
Turn off sign-ups after I made an account
-
Ollama + Open-WebUI
Probably the hardest app i’ve had to install, requires graphics card drivers and tools like ROCm from AMD and a lot of manual configuration and figuring out things by yourself, but the documentation for ROCm and Open-WebUI are both really good, so it could be worse. (Ollama could have defined their minimum requirements a bit better though)

QEMU KVM Virtual Machine setup
Description
To keep it simple. QEMU, or The Quick Emulator abbriviated to QEMU is a peice of software that emulates a hardware environment so that virtual machines can access devices like keyboards, mice, graphics, sound and other devices that you would typicaly use on a computer, It can be used indipendintly or with KVM.
KVM, or Kernel-based Virtual Machine is a linux module that turns the computer into a Type 1 Hypervisor under the right conditions. It enables a computer to allow for guest operating systems to function, handles things like supervision of allocated computer resources, provitioning of guest virtual machines and a interface for I/O (Input/Output) devices.
Practice
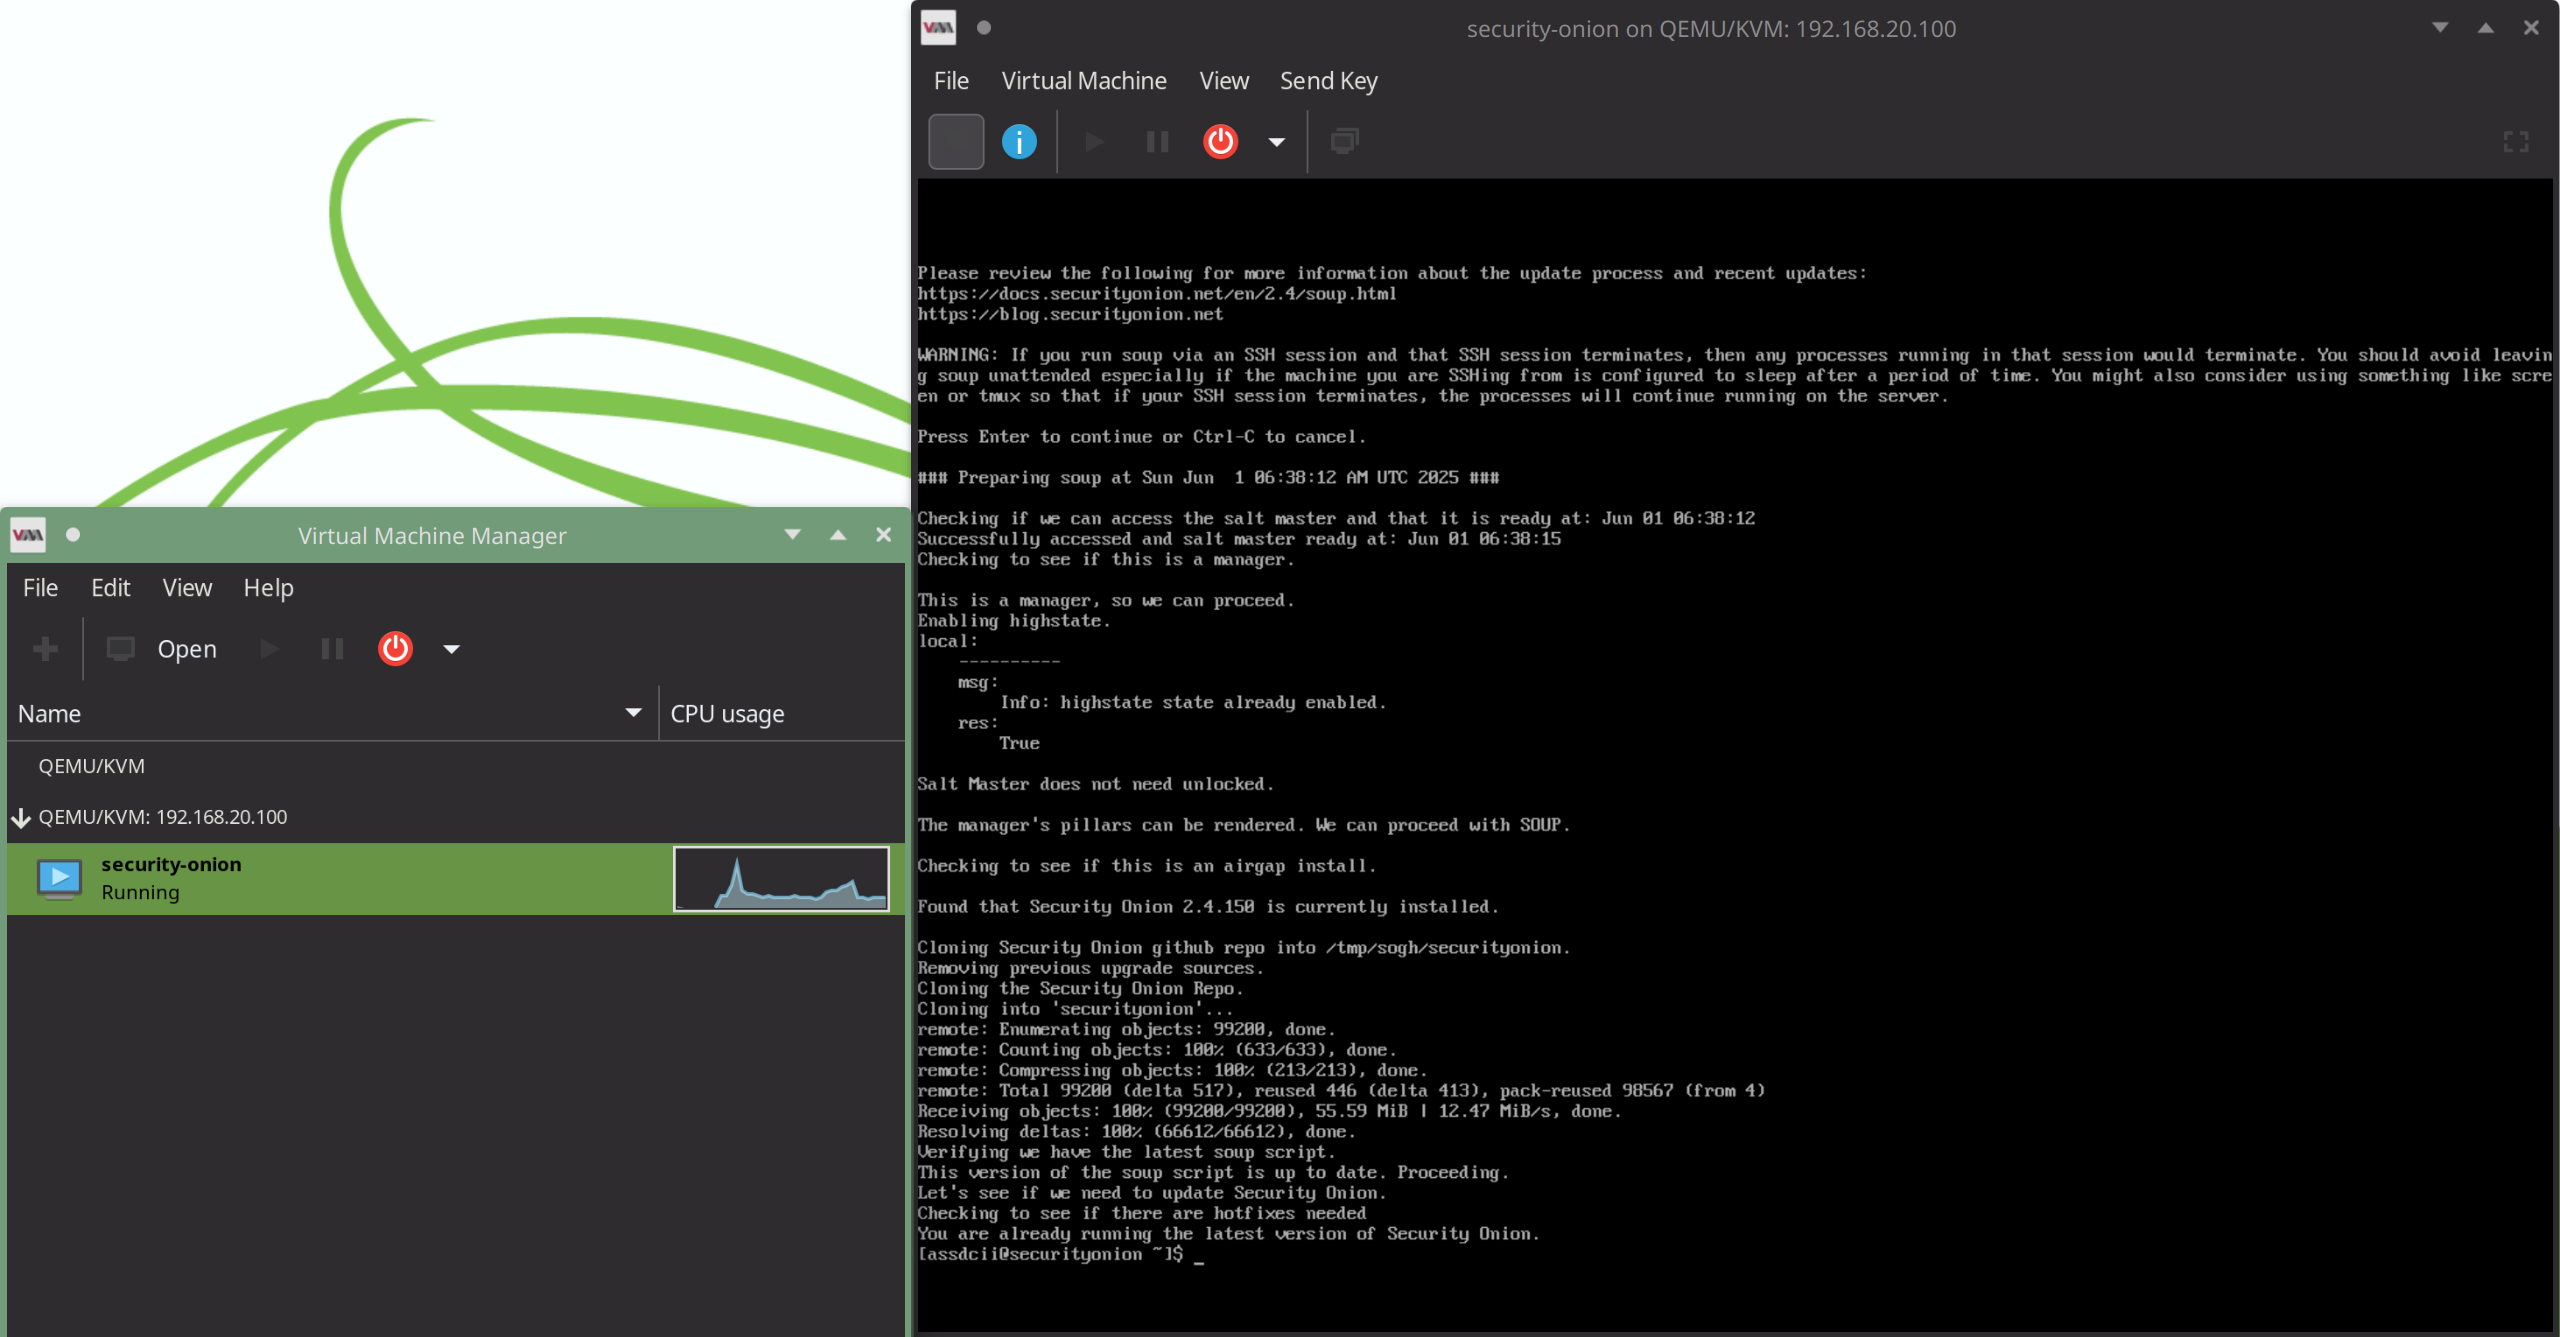
I can remotely manage my virtual machines with a tool called Virtual Machine Manager or VMM, I can connect to the server with SSH and virt-manager provides me with a user interface to help manage my virtual machines with, it can also provide me with a nice VNC display of the virtual machine

Reverse Proxy
